
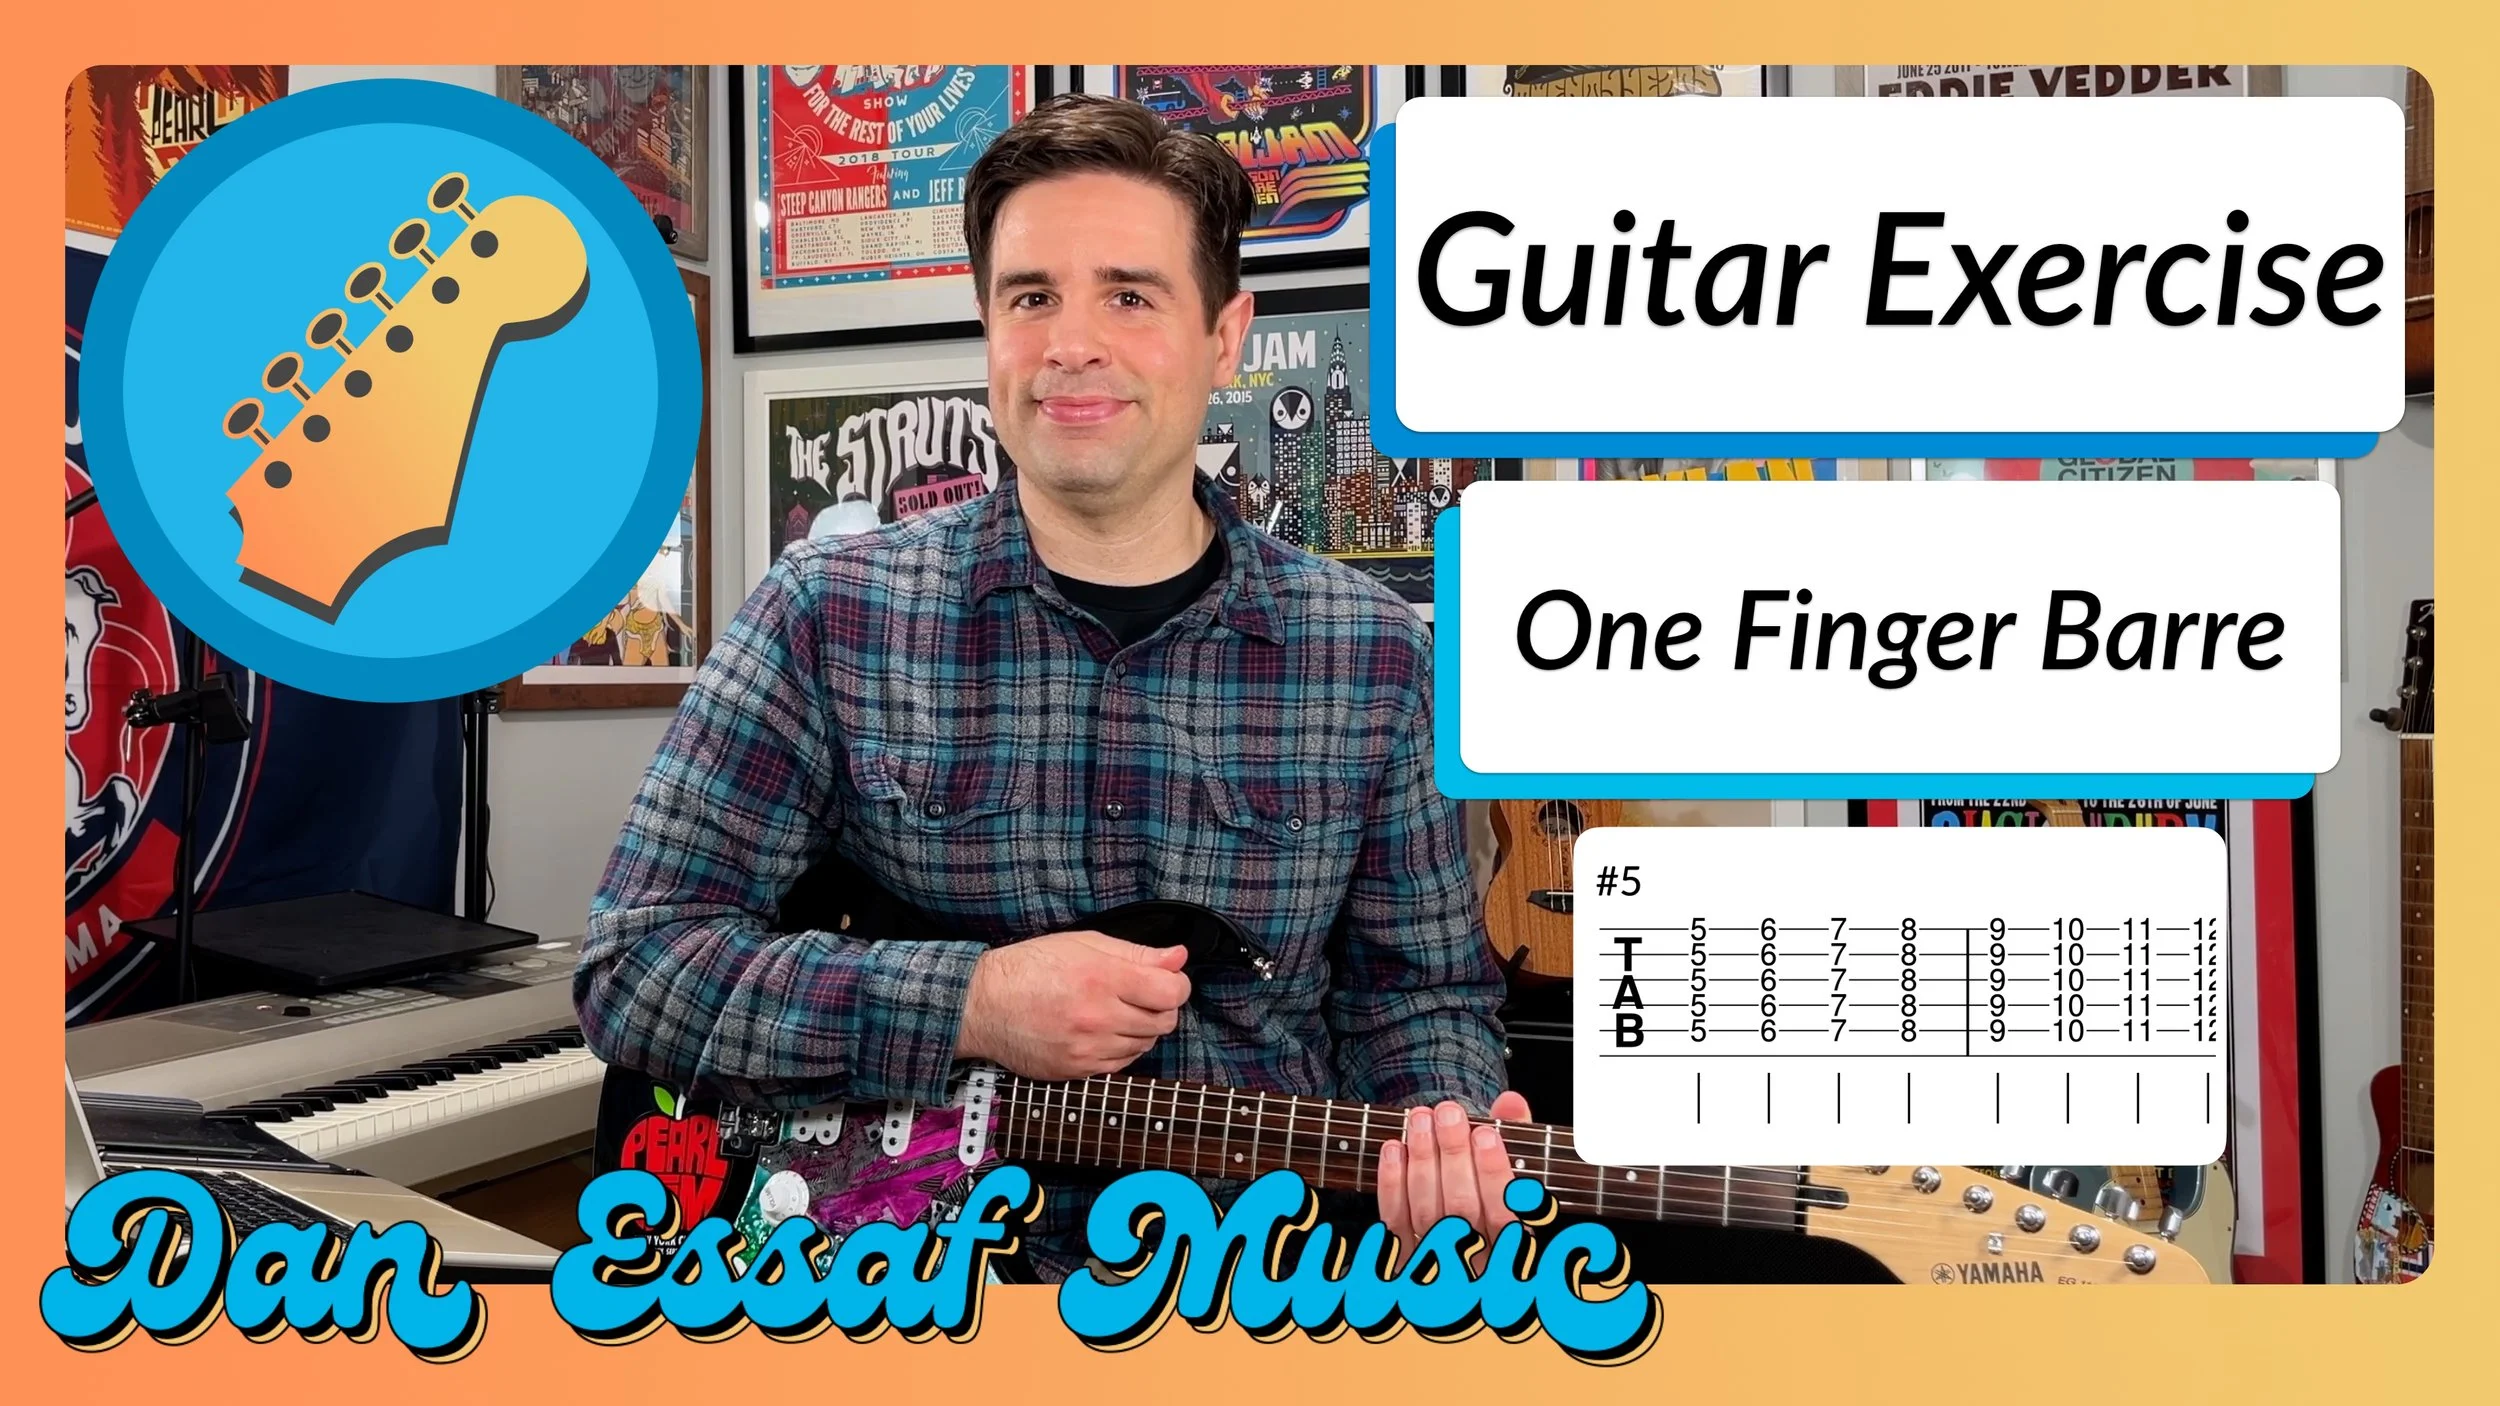
The D_D_D_DU Strum Pattern on Guitar
In this video we're learning a new strum pattern on guitar!


In this video we're learning the D_D_D_DU strum pattern on guitar that’s great for changing chords!
Back to the Exercise Videos Page
Have a more detailed question? Send it directly to me here and get a video response back by email!


Some links on this page are affiliate links that I earn a small commission on when you make a purchase at no additional cost to you.
Transcription
In this video, we're gonna learn a new strum pattern, the D_D_D_DU strum pattern. And like any strum pattern, the first thing we want to do is get the muscle memory down with our strumming hand. So we're gonna mute the strings and not use any chords just yet. And we want to keep a big swing and not have little tiny swings, like we do with other strum patterns. So that we can control motion, we can control rhythm. When we have little swings like that, we end up pausing a lot and that can kind of ruin rhythm. Or at least make rhythm more difficult in the long run. So we want to have these nice big swings we're gonna do D_D_D_DU We wanna keep it nice and flowy. First again, with no chords, just muting the strings. D_D_D_DU Once you think you’ve got that muscle memory down, we then want to do some easy chord changes. Some pretty easy ones are E minor and E major and A minor and A major. So with E minor, being that open, 2nd fret, 2nd fret, open, open, open Using my second finger and my third finger. All we have to do to make it an E major is drop that first finger. And we're gonna practice going back and forth between those two while using the pattern. So we're gonna go D_D_D_DU switch to E major D_D_D_DU or 1 2 3 4 + So we're gonna practice slowly. D_D_D_DU change D_D_D_DU change D_D_D_DU change D_D_D_DU Make sure you don't change your chord until the pick is on the down swing after the up strum.  Right about there you want to change. That way you get a nice transition and they kind of flow together more and don't have any abrupt stopping. When that's comfortable, then you're gonna move on to the A minor and A major change which is basically the same thing, just with different fingers going up and down. So with the A minor and the A major, the A minor is the same shape as the E major. Going 2nd fret, 2nd fret, 1st fret using our second, third, and first finger. We do want to mute that E string at the top. But if your brand new to guitar, that might take a little practice. It's okay if you have it open at first, but eventually you want to mute that string. And then to get to the A major from there. We can scooch those over a little bit and drop our pinky  and that'll give us the A major. 2nd fret B string with the pinky. It is optional if you're gonna keep your  first finger down or not during the A major. But you theoretically could. First, get them sounding really nice. Then you do the same thing as the E minor, E major. So when the A minor and A major transition is pretty easy, we're then going to move on to moving all of our fingers at once instead of just one. So an easier example for this would be E major and A minor. Same shape, just one string difference. E major is here, move them all down one string for A minor. We want to try to keep them grouped together. So first, just practice getting them clean back and forth if you're new to this. And then work on the strumming, Maybe doing all down strums first if this is new. Once you've got the E major and A minor transition done really well, that it’s not super hard. Then maybe try A minor to C major. Well really, you only need to move one finger, your ring finger, up like that. That's a good one. Because that's a transition you might actually see way more often than you would others. And then another good one also is the four finger G major to D major. Where with that one, you can keep your ring finger down the whole time on that 3rd fret B string. It gives you a little bit more of a challenge but also a good progression to switch back and forth. The challenge with the D major as well, is muting both the E and the A strings. So as a beginner, it's going to take some time. You definitely should mute at least the E string. E is not in the chord but A is. So at least that inversion works. But you do want to eventually get comfortable with muting both those strings wrapping your thumb around. But to start, just do your best with maybe just the E string. Once you've got those down, try practicing changing any chords that you already know or any new chords you can think of. Even if they don't sound super good together because every bit of practice is going to be good for that muscle memory. And you just never know what chord progressions are going to show up in what songs. Just make sure that if you're having trouble, you go slow and that you're changing those transitions on those down swings so you get a nice smooth transition of chords. A few good songs that you could use this with are Like a Rolling Stone by Bob Dylan, Dead Flowers by The Rolling Stones or  All You Need is Love by The Beatles is a good one. Just remember to keep practicing it and take your time. Make sure you get it right. It's going to sound great in no time! If you like the video, please give it a like! If you want to learn more guitar, please subscribe! Just remember to have a good time and Happy Practicing!